Your widget appears on the intended pages and you have checked a first answer. The integration uses the script supplied by Chatyx.
Before you start
- A Chatyx account with a website chatbot and processed sources.
- WordPress access that allows installing a plugin or adding JavaScript.
- On WordPress.com, a plan supporting plugins and custom code. Check your plan before starting.
- Your exact public website address and your staging address, if applicable.
1. Prepare the chatbot and its answers
Open your website chatbot in Chatyx. Add useful pages or documents under Data sources and wait for processing to finish. Installing the widget does not automatically teach it your entire WordPress site: you must add the sources.
Choose a clear name and welcome message in the customization settings. A fictional repair shop might use: “Hello, I can help you find our services and prepare your enquiry.” Test one question answered in a source and another outside its scope.
2. Copy the integration script
Open the chatbot’s Integration tab and copy the supplied code. It includes the chatbot identifier: keep that value rather than replacing it with a website address or a name.
The example below shows the script format. Its placeholder identifier will not work; copy the actual code from your account. Insert the script only once on each page.
<script
  src="https://chatbot.chatyx.fr/chat-widget.js"
  data-bot-id="YOUR_CHATBOT_ID"
  defer
></script>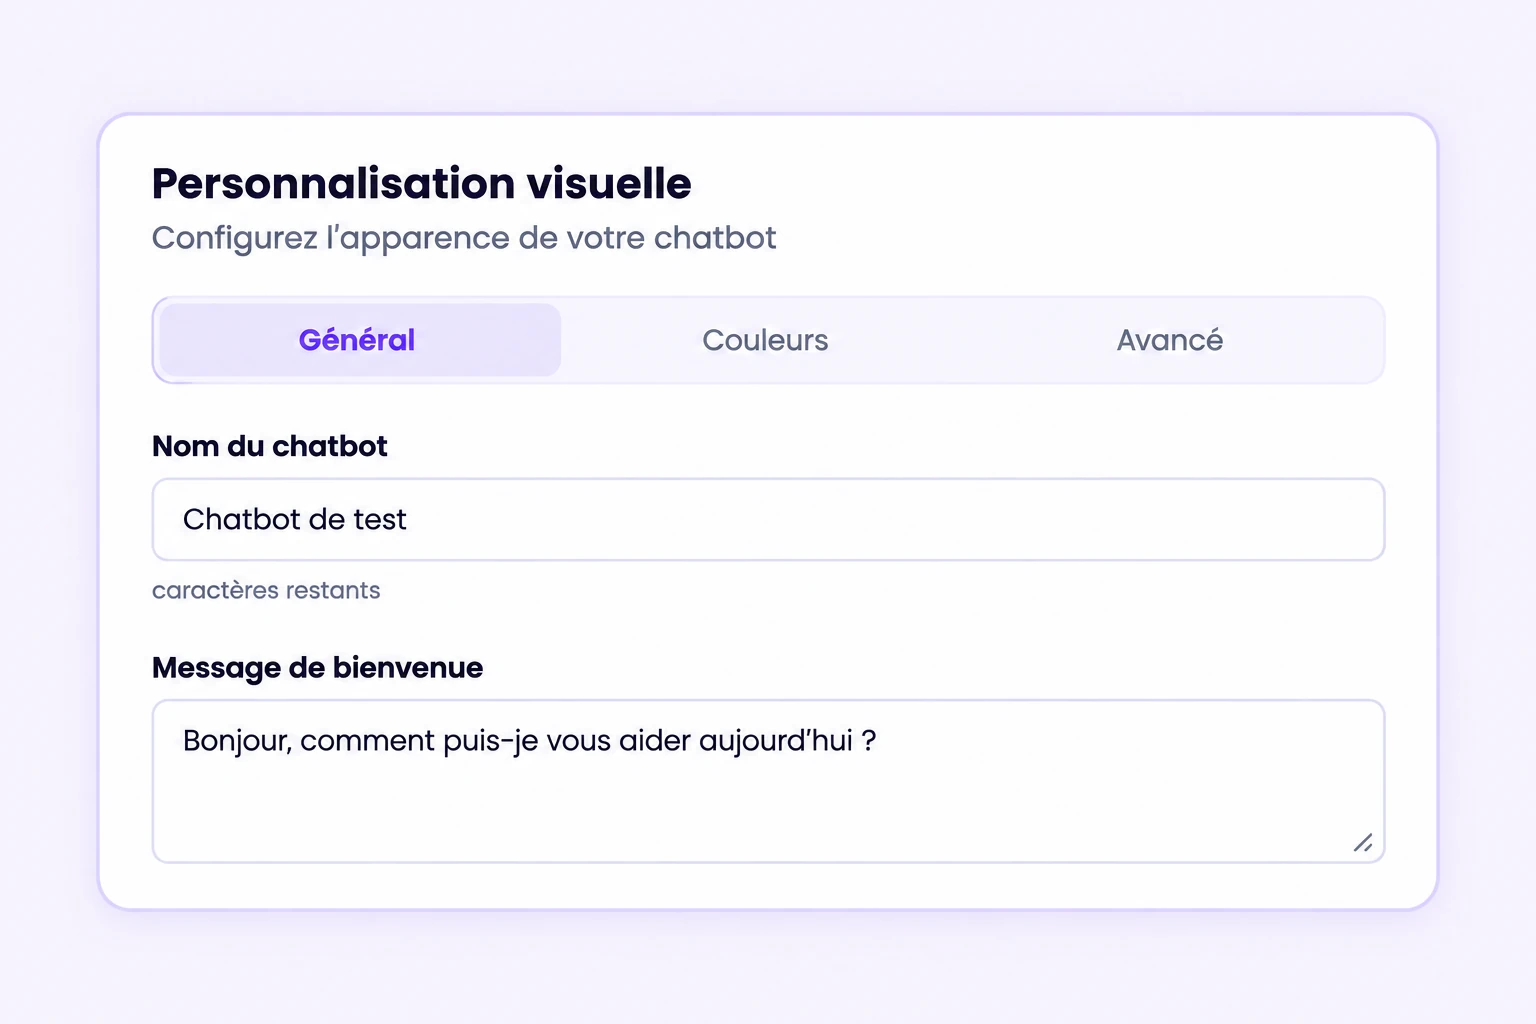
3. Add the script to WordPress
Use an existing global script area if your site has one. Otherwise, WordPress.com documents a method using the free WPCode – Insert Headers and Footers plugin. This inserts code; it is not a Chatyx plugin.
Install and activate WPCode, then open Code Snippets → Header & Footer. Paste your Chatyx script into Header or Footer and select Save Changes. A global insertion applies to pages covered by that area. Labels may differ with your WordPress language.
Start on staging if available. Avoid inserting the script through both your theme and a plugin or block. To limit it to certain pages, use your insertion tool’s display conditions if supported.
4. Check allowed domains
Check allowed origins in Chatyx’s Integration tab. If restriction is enabled, the list must contain the exact origin where the widget loads.
An origin contains the protocol and domain, without a page path. https://example.com and https://www.example.com are different origins. Include the origins you actually use and staging if needed, save the settings and reload WordPress.
5. Test the public site
Open the site as a visitor without a WordPress login. Check the homepage and an inner page, then repeat on a phone. The widget button should remain accessible without covering an essential action.
Ask a precise question answered by your sources and another that they cannot answer. Check that the chatbot stays within scope and find the test conversation in Chatyx. If you later enable contact collection, test it separately with contact details you control.
Check the result
- The widget is visible on the intended desktop and mobile pages.
- The answer matches a current source and does not present missing information as certain.
- The script appears once and allowed origins match the final domain.
- You can find the test conversation in Chatyx.
Troubleshooting
The widget does not appear.
Check that the script was saved, the chatbot identifier is correct and your WordPress plan allows JavaScript. Then check allowed origins. Clear the site cache after changes and check whether consent or optimization tools delay script loading.
It works in preview but not on the public domain.
Compare the exact protocol, www prefix and subdomain. Allowing staging does not automatically allow the public domain. Also check that the script is present on the published page.
An answer uses old information.
Check the chatbot’s source and its processing status. Editing WordPress alone does not prove the information used by Chatyx has been refreshed. Update the source and ask a precise question again.
Need help with your setup? Email support@chatyx.fr.
Further documentation
Run your own test
Start with a clear scope and a few reliable sources. Check the answers before expanding to visitors.
Open Chatyx